Documents
Overview
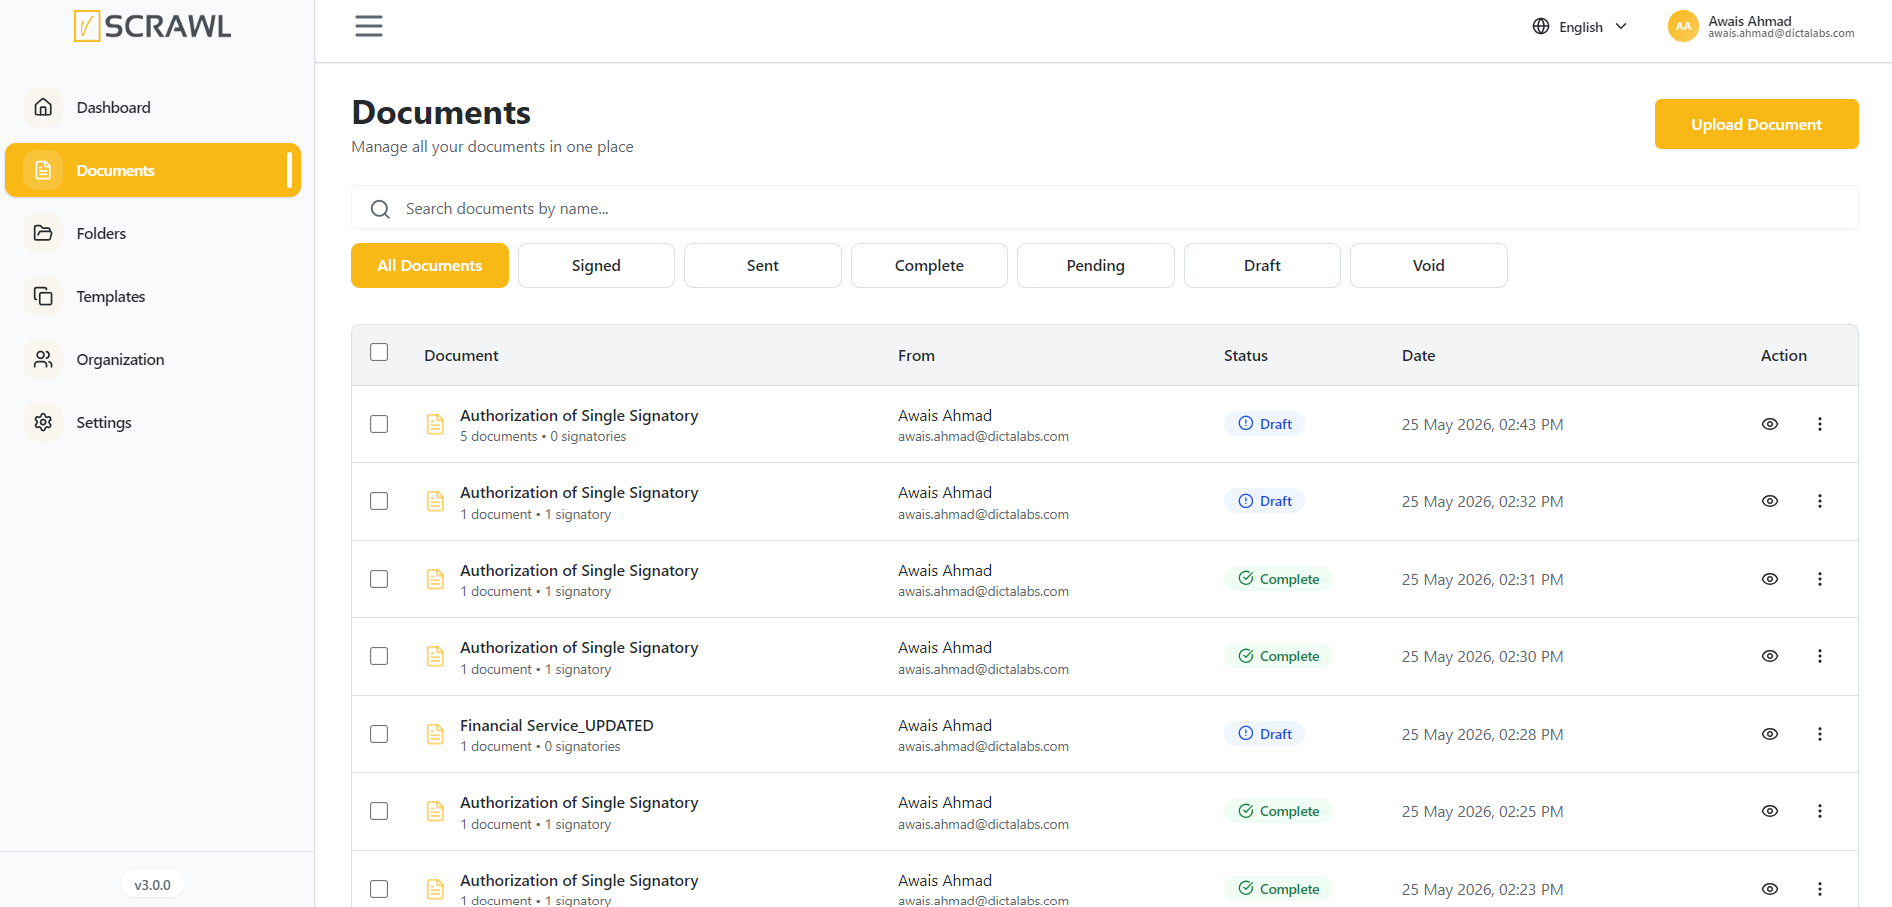
The Documents module is the primary workspace within vScrawl for managing digital documents and signature workflows. It provides users with a centralized repository where they can upload, view, track, search, and manage documents throughout their lifecycle.
The Documents page offers powerful filtering, search, and document management capabilities, enabling users to efficiently monitor document status and access important information from a single interface.
Accessing the Documents Module
To access the Documents module:
- Sign in to your vScrawl account.
- From the left navigation menu, click Documents.
- The Documents page will open, displaying all documents available within your account.
Search Documents by Name
The Search Documents by Name feature allows users to quickly locate specific documents within the vScrawl document repository. Instead of manually browsing through the document list, users can search using document names or keywords to find the required file instantly.
How to Search for a Document
- Navigate to the Documents page from the left navigation menu.
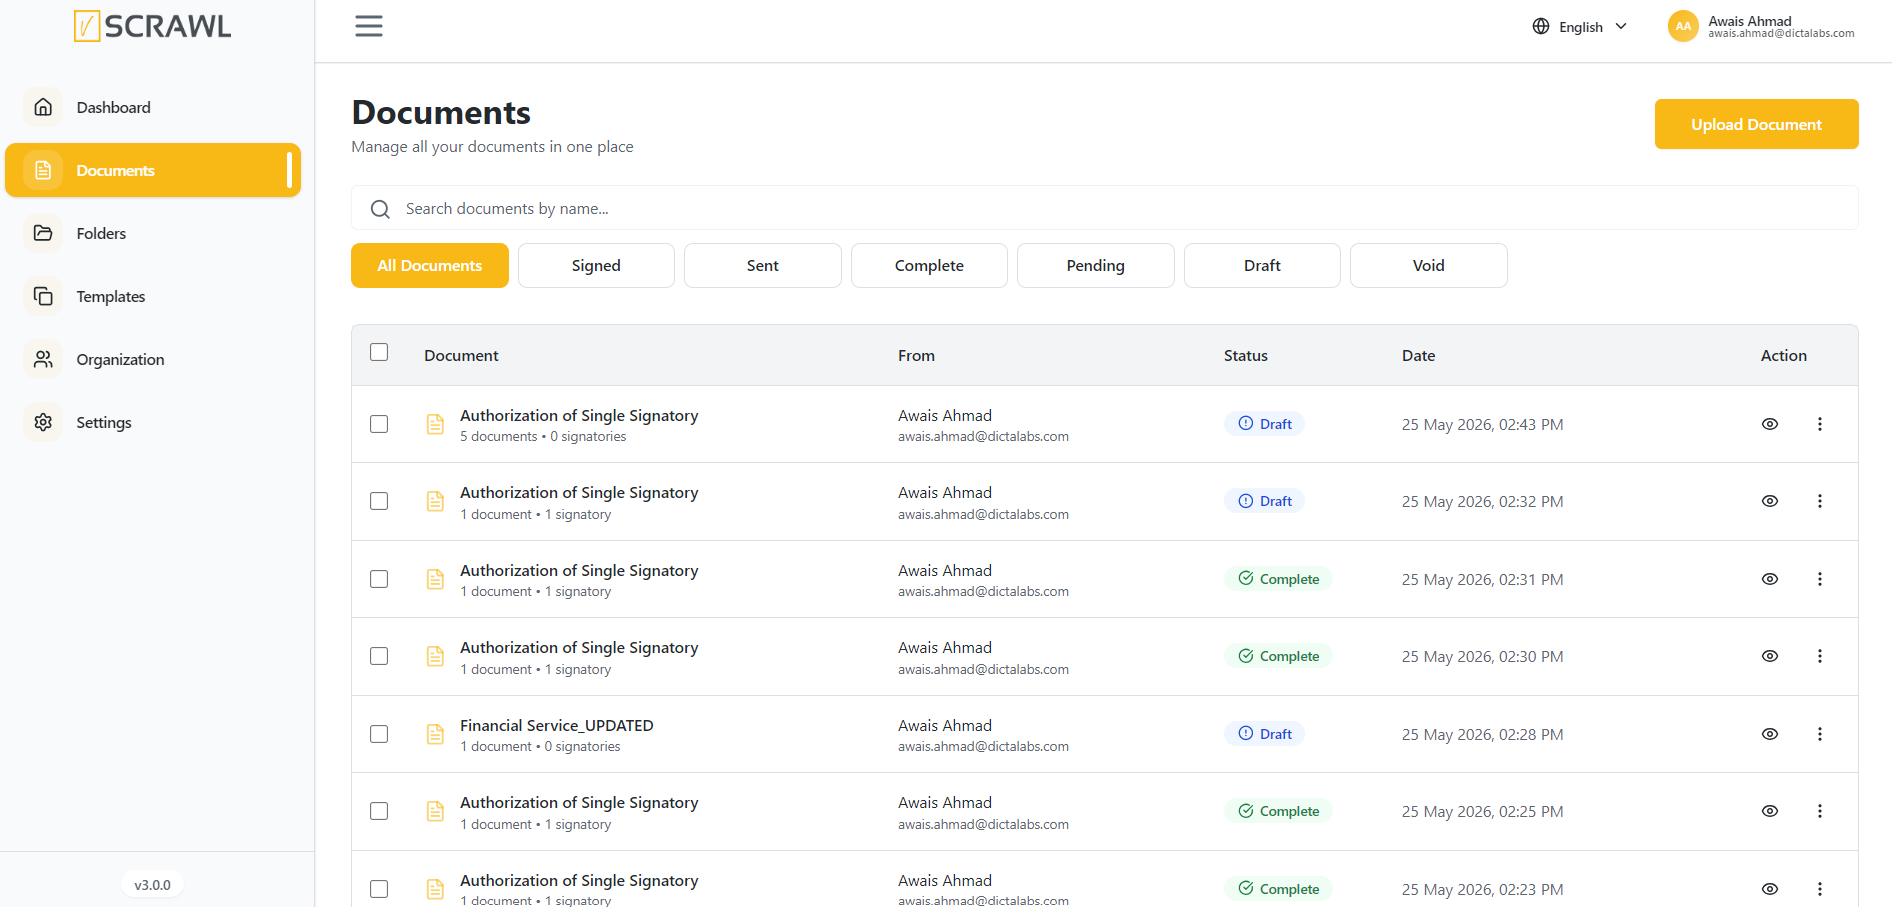
- Locate the Search documents by name... search bar at the top of the document list.
- Enter the full document name or a keyword related to the document.
- The document list will automatically update and display matching results.
Combining Search with Status Filters
Search results can be further refined using the document status filters available above the document list:
- All Documents
- Signed
- Sent
- Complete
- Pending
- Draft
- Void
For example, you can search for "Authorization" and then select the Complete filter to view only completed authorization documents.
Uploading Single and Multiple Documents
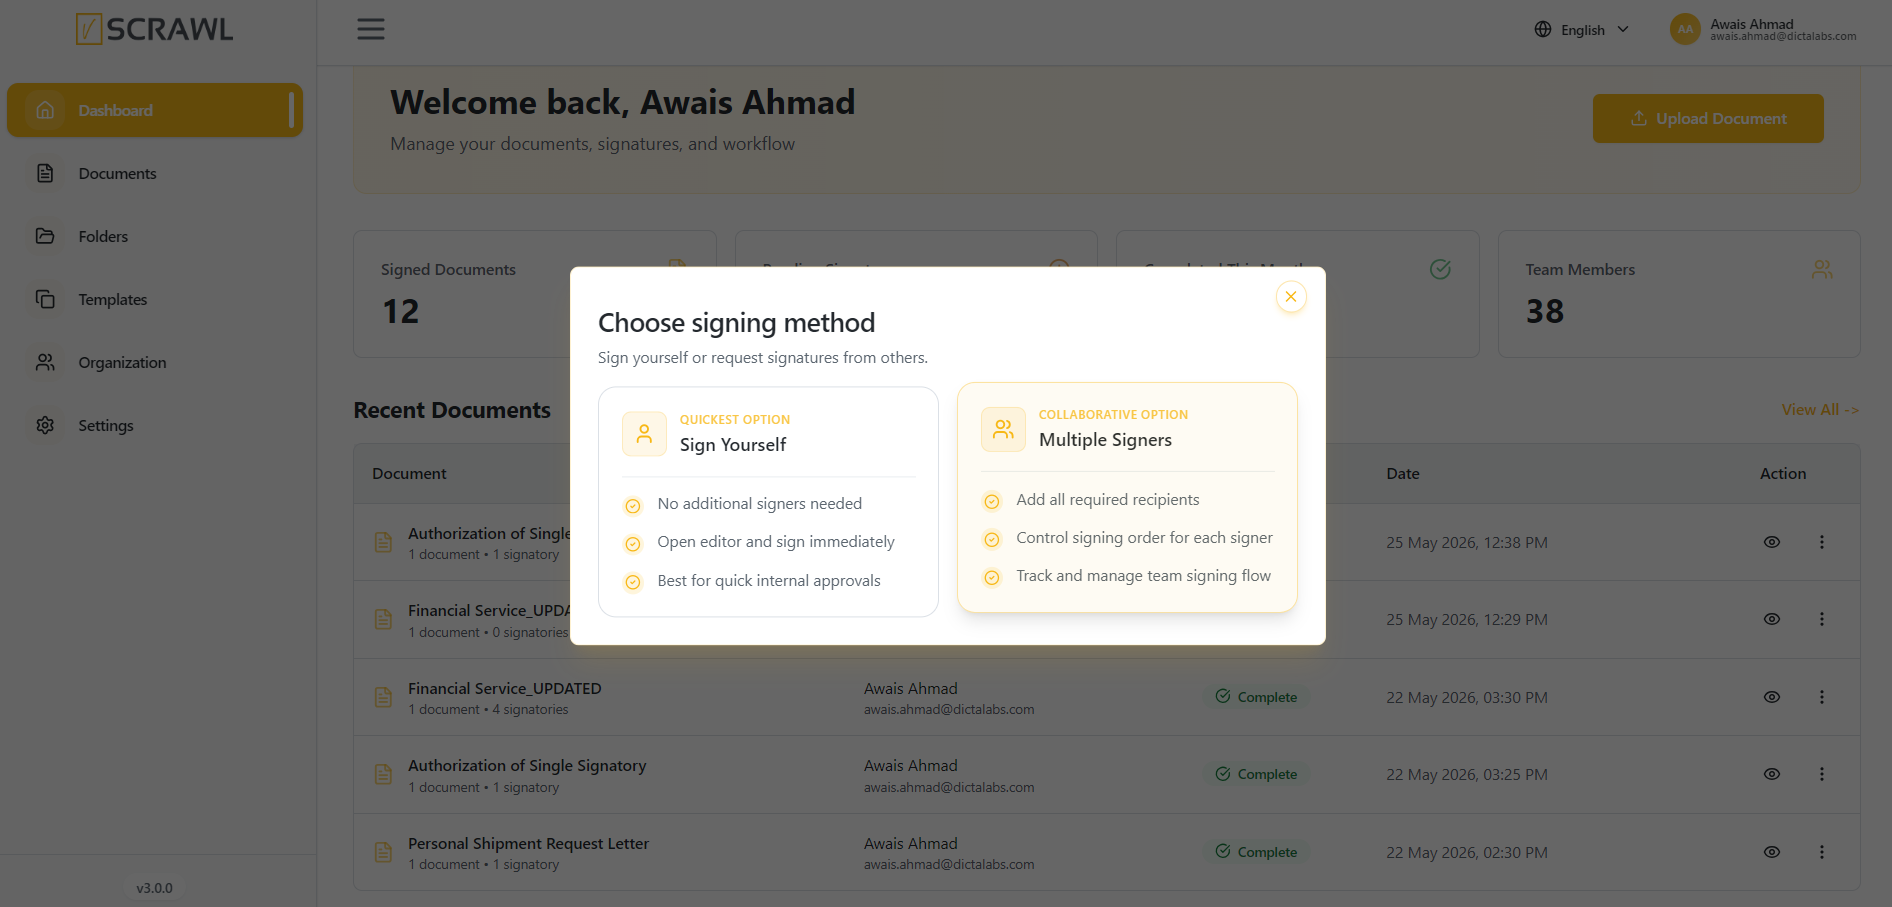
At the top of the Documents, you will find the Upload Document button, the primary action for starting a workflow. You can choose between two options:
-
Sign Only – Use this option if you are the only person who needs to sign the document.
-
Sign with Others – Use this when multiple recipients must collaborate and sign the document.
This section focuses exclusively on the document upload process. Detailed information regarding document signing workflows, including both the Sign Yourself and Multiple Signers options, is provided in the workflows section of this guide.
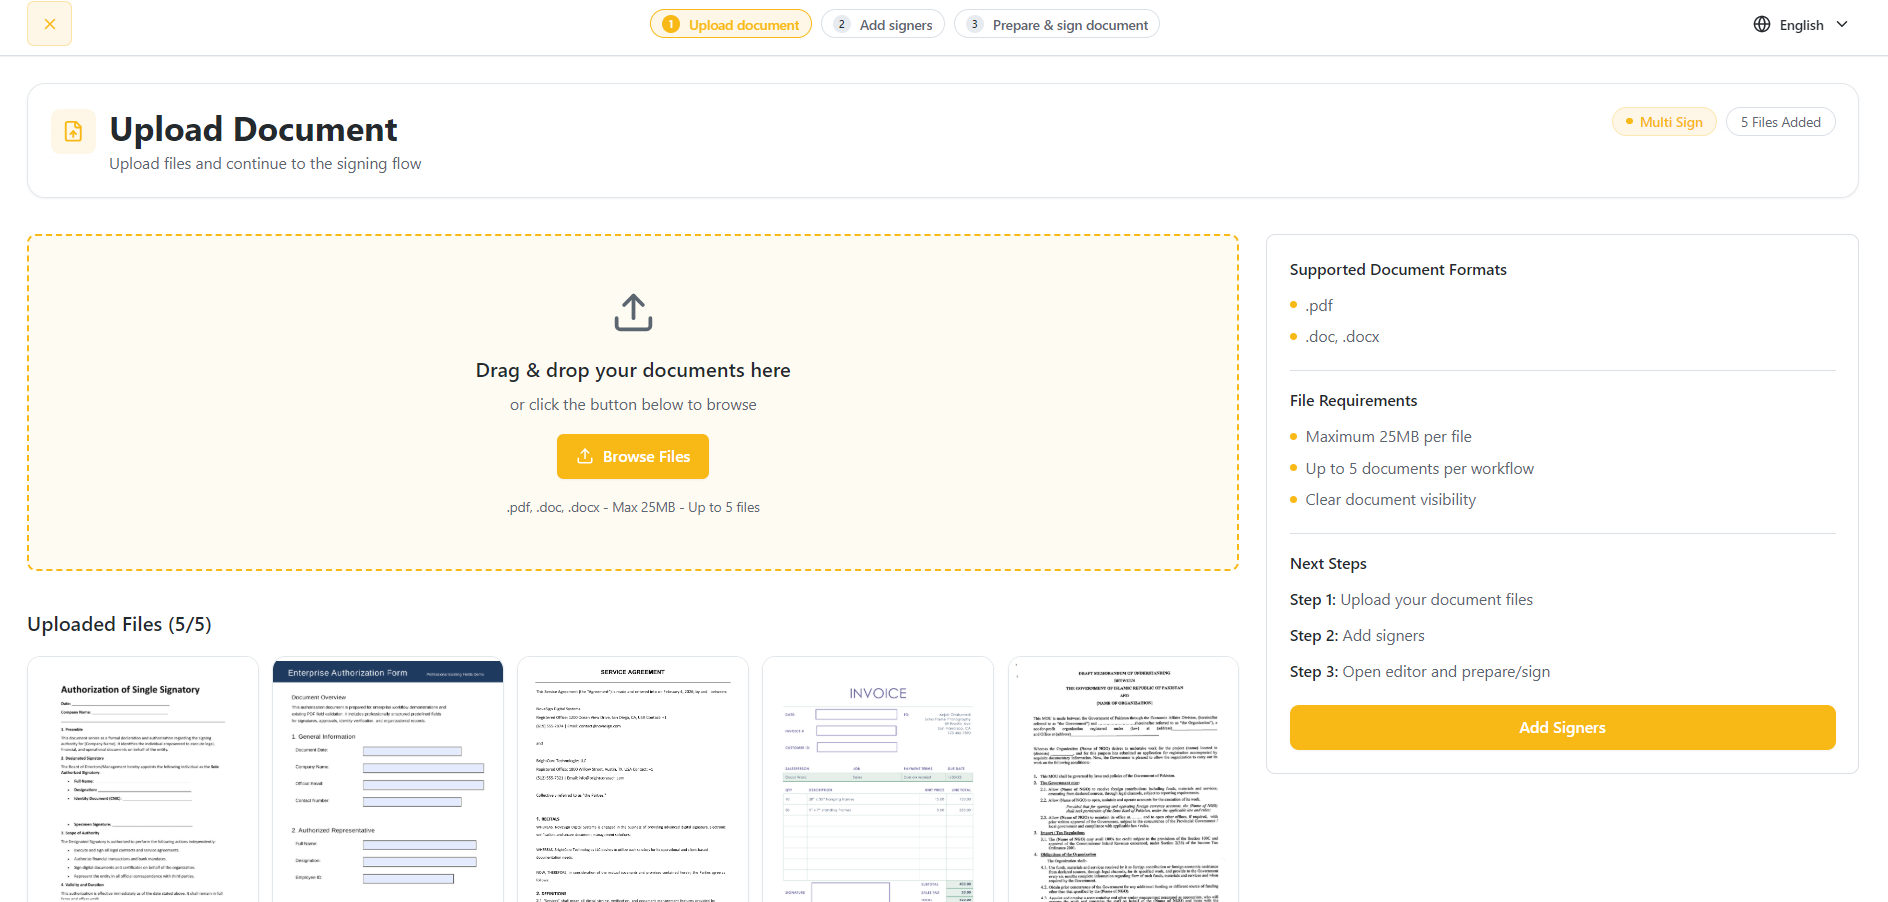
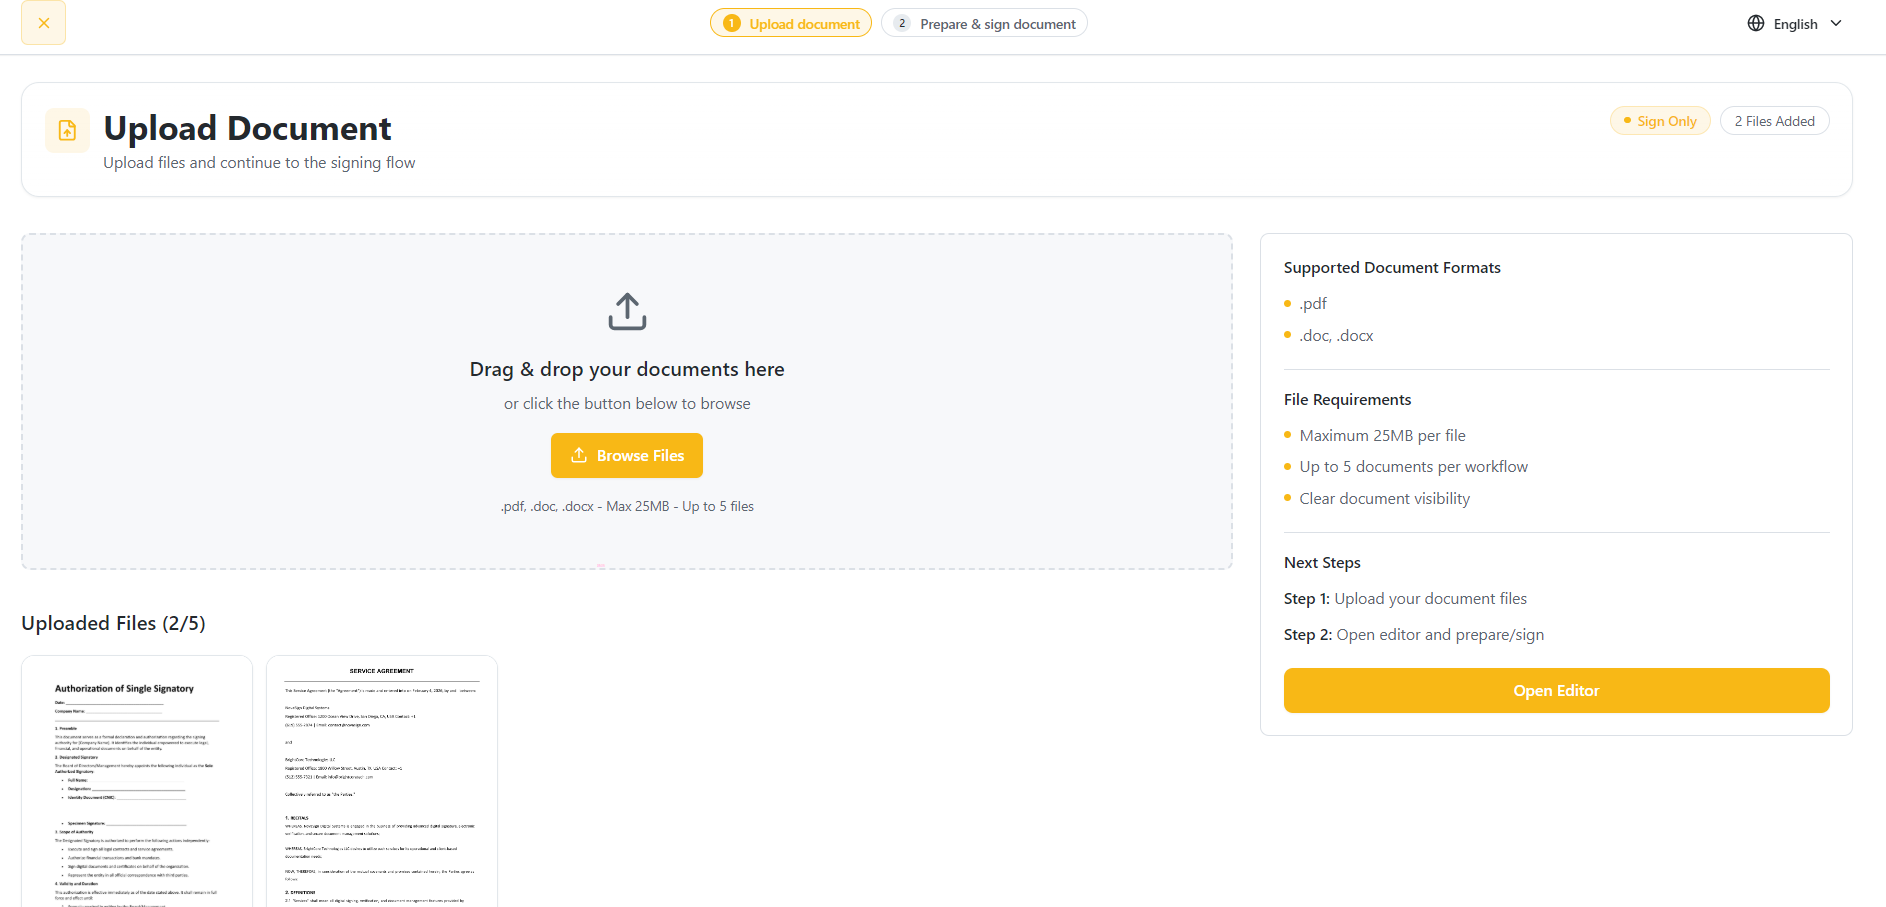
Users can upload up to five documents simultaneously in supported formats, including PDF, DOC, and DOCX, by either browsing files from their computer or using the drag-and-drop upload feature.. The documents appear in the upload screen where you can:
-
Reorder them by dragging and dropping into your preferred sequence.
-
Rename a file using the ✎ edit option.
Delete a file using the 🗑️ icon.
Document Preparation
After uploading documents, the next step depends on the selected signing workflow:
- If the document is uploaded using the Self Sign option, clicking Open Editor will take you directly to the Document Preparation Screen, where you can prepare and sign the document
If the document is uploaded using the MultiSign option, clicking Add Signers allows you to configure recipients and signing roles before proceeding to the Open Editor screen for document preparation.
Within the Document Preparation workspace, users can conveniently switch between multiple uploaded documents using the right-side document panel without leaving the editor. This enables a smoother and more efficient document preparation experience.
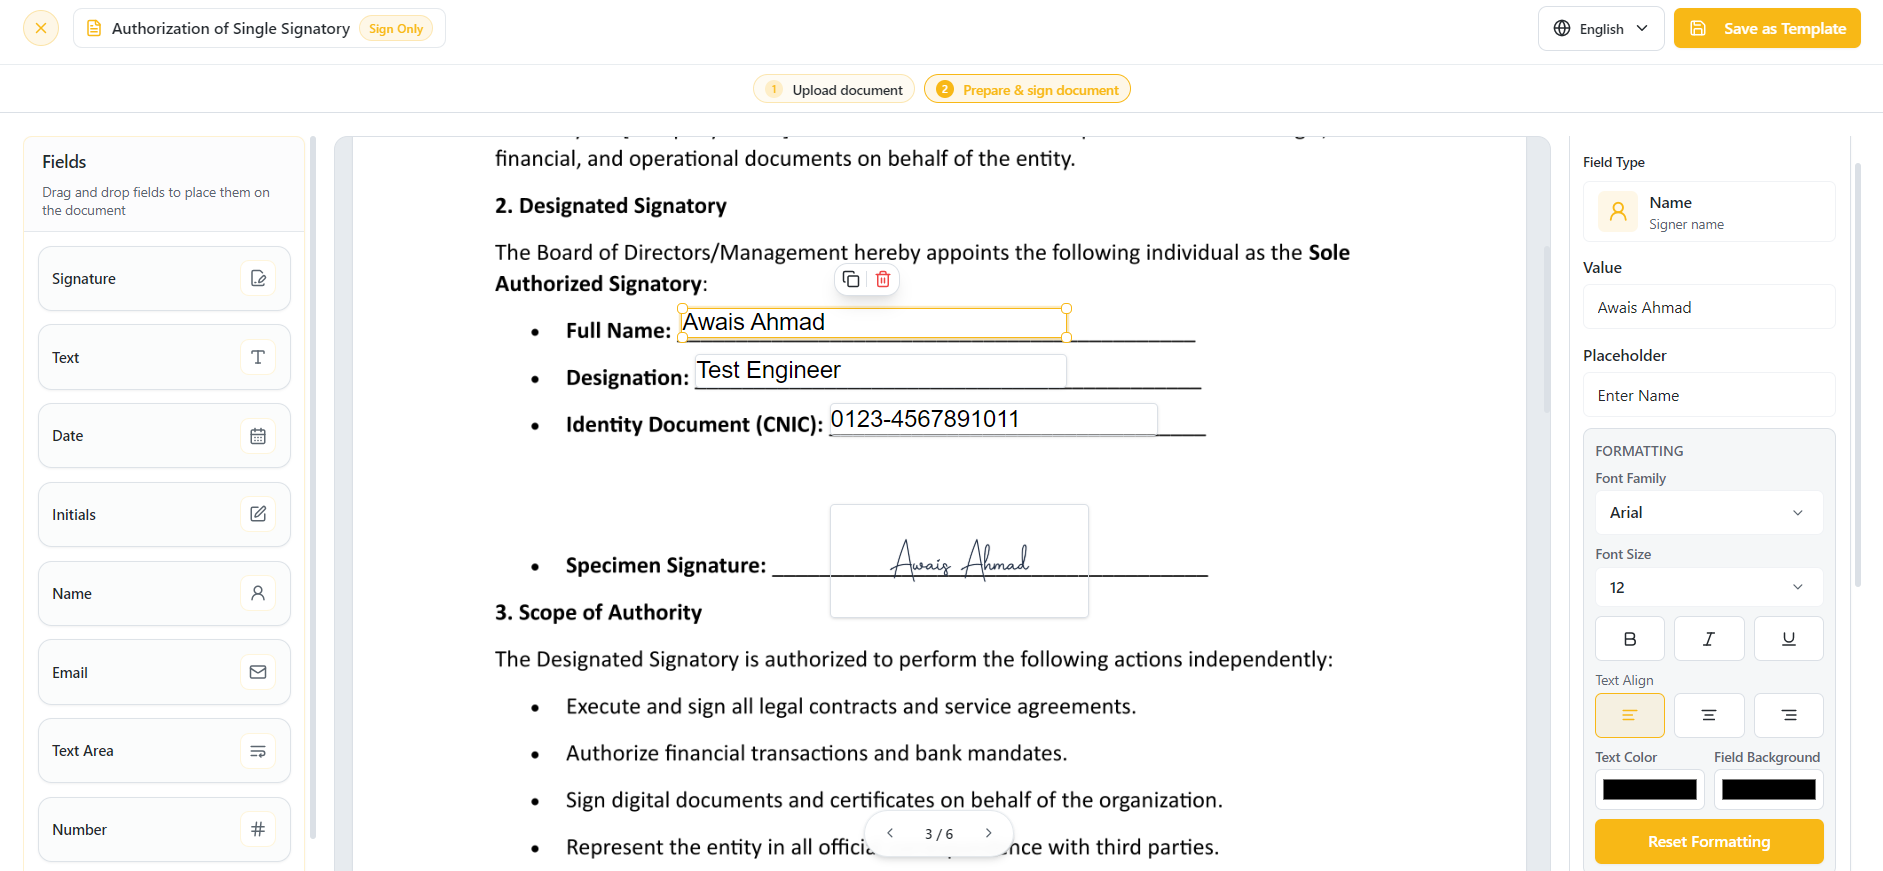
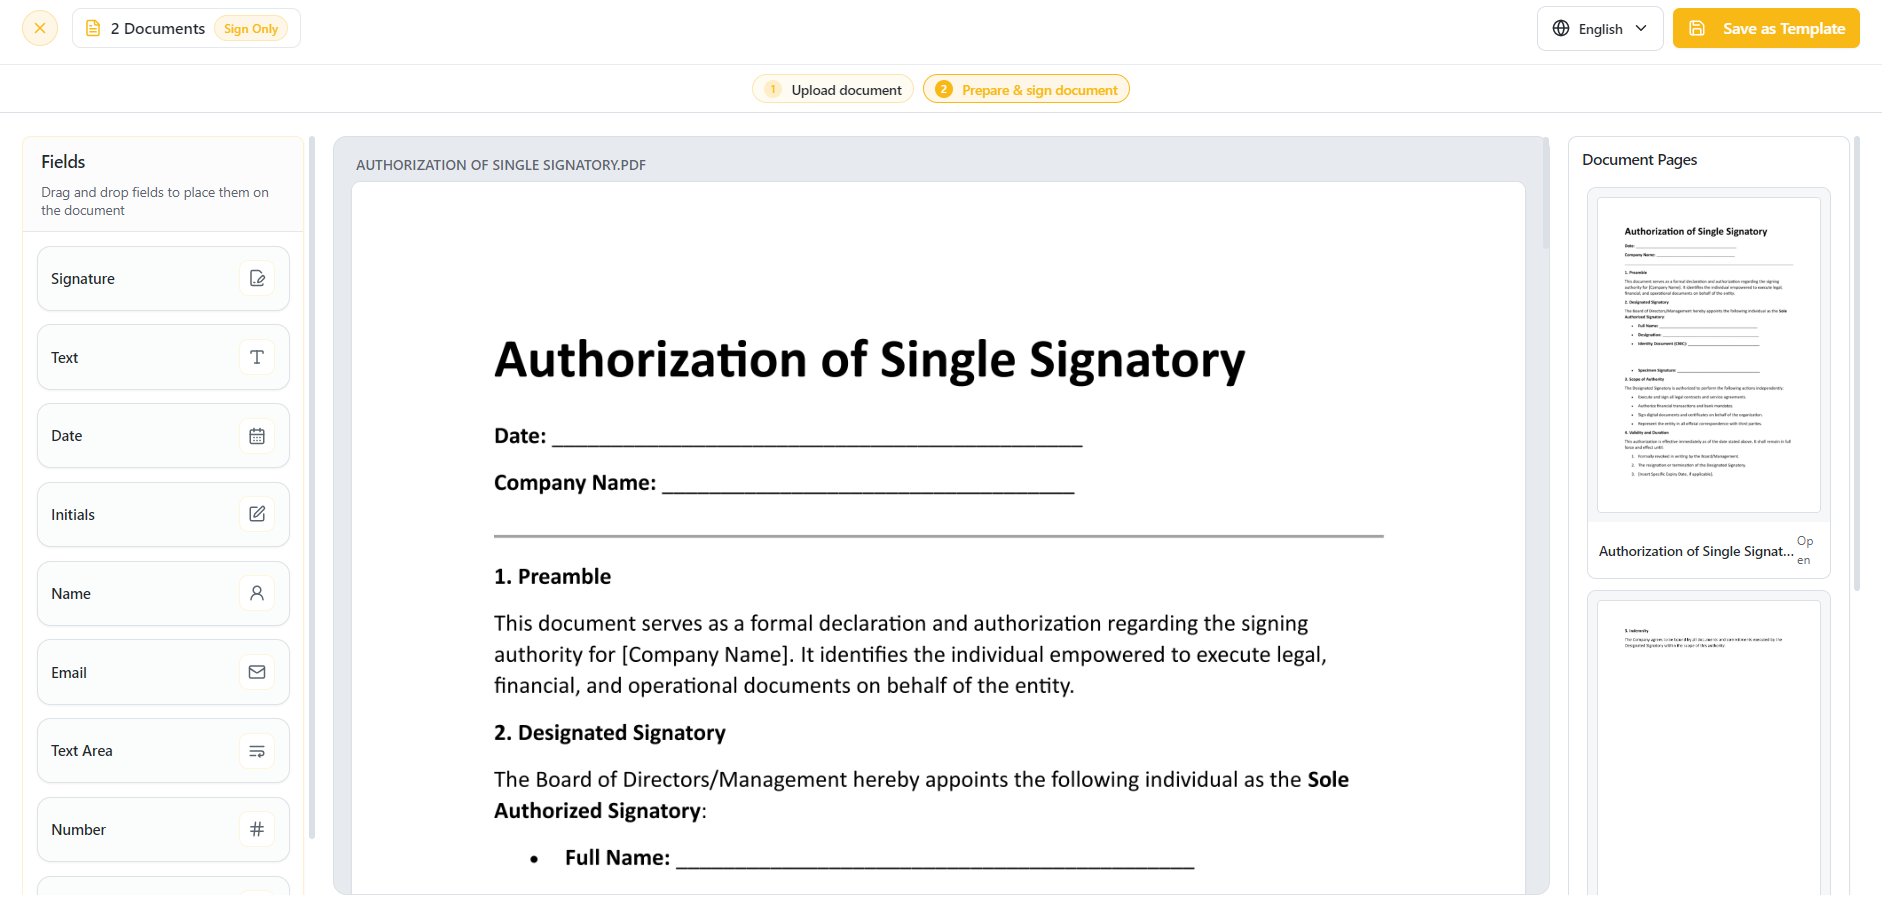 - You can drop annotations from the left-hand panel like (Text Field, Text Area, Number, Email, Signature) on the documents.
-
You can also customize the Formatting and Location of each annotation on the document from the right-hand panel.
-
You can delete the annotation by clicking on the close icon on it or from the right-hand panel on the document.
This ensures your documents are organized before moving into the signing workflow. This saves time and makes managing complex signing processes easier.
Downloading Documents
-
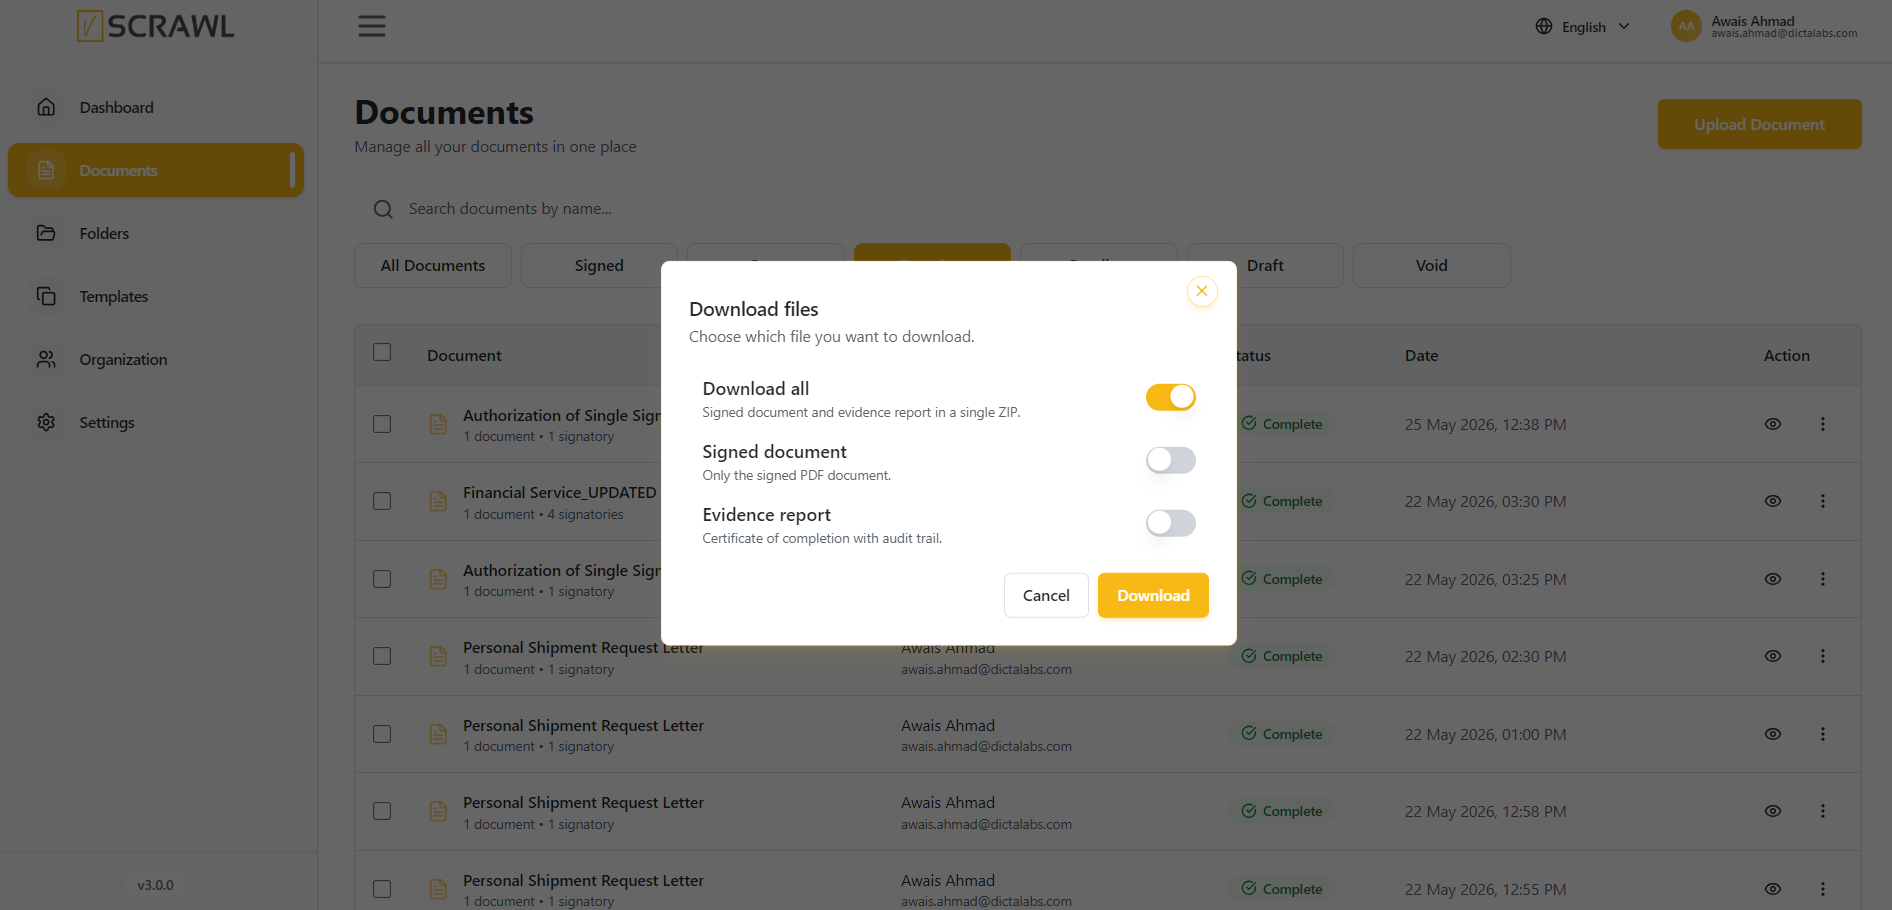
Download documents directly from the Documents List screen by selecting the Download option from the three-dot menu next to the desired document.
-
Audit Details can be accessed from the three-dot menu by selecting Audit Details, providing a complete history of the document workflow, including recipient actions, timestamps, and status updates.
-
Keep documents organized by using the Move option to place them into folders for easier management and retrieval.
-
Remove documents that are no longer required using the Delete option available in the document actions menu.
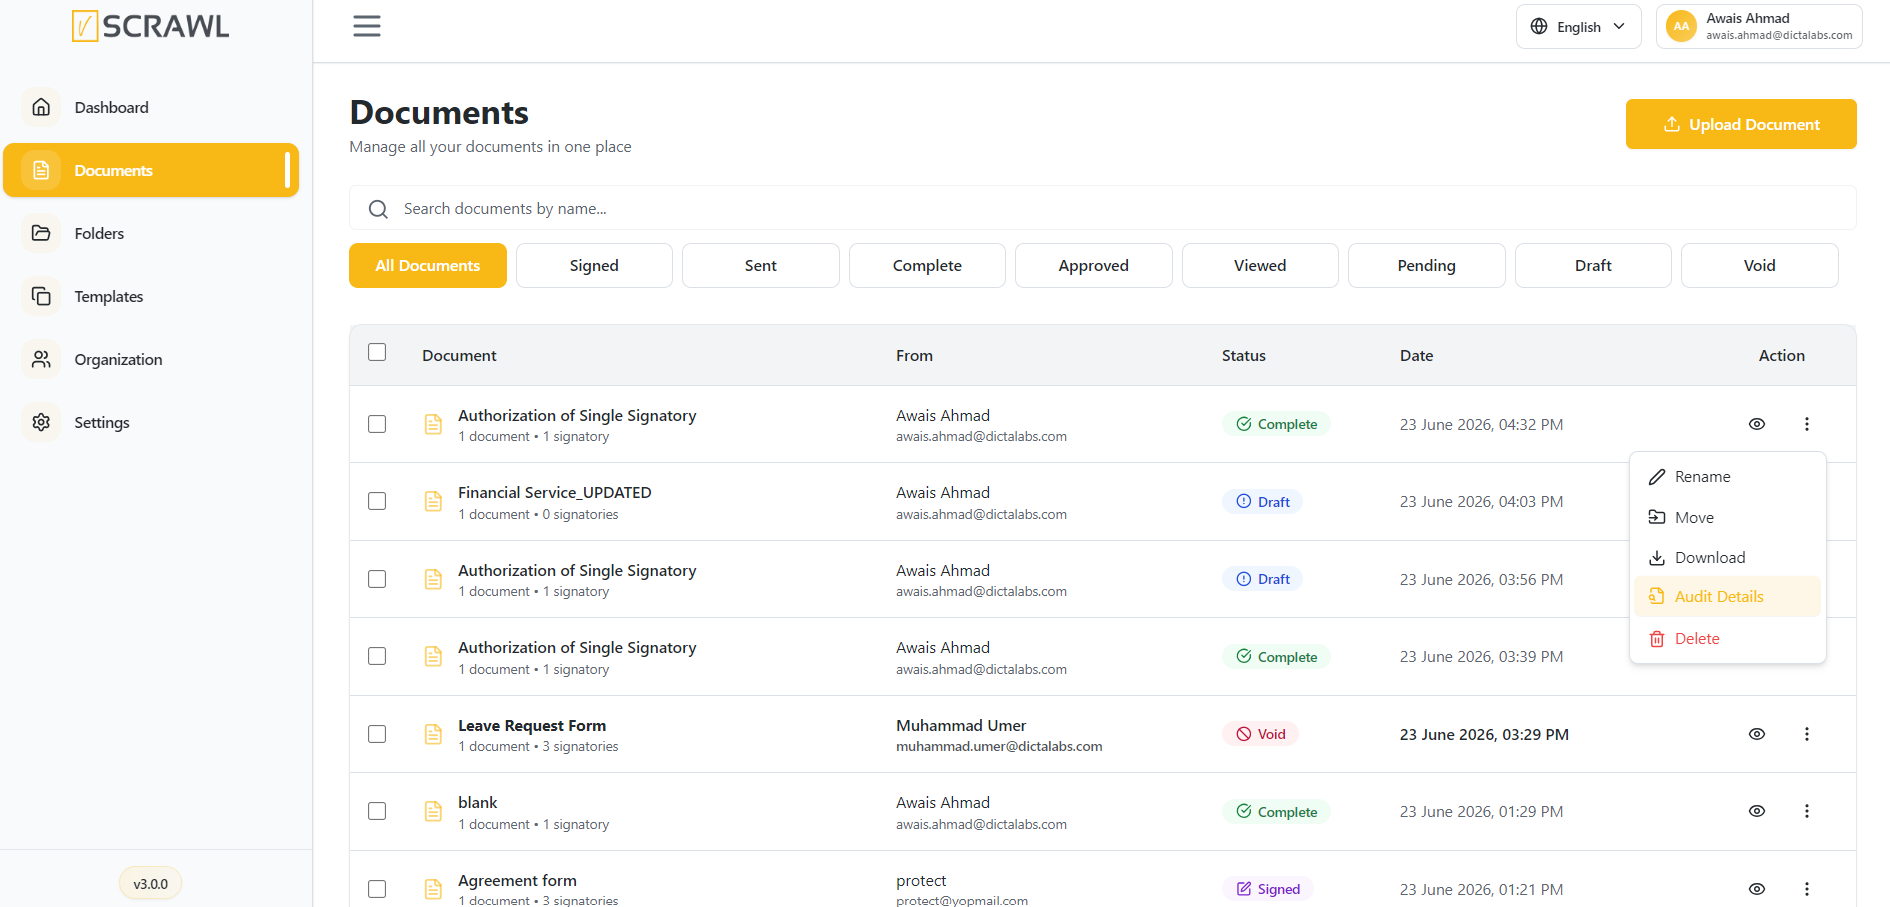
Improve document organization and identification by using the Rename option to update document names. Only documents uploaded by you can be renamed.
- You can also download the document on the document viewing screen after performing signatures on it.
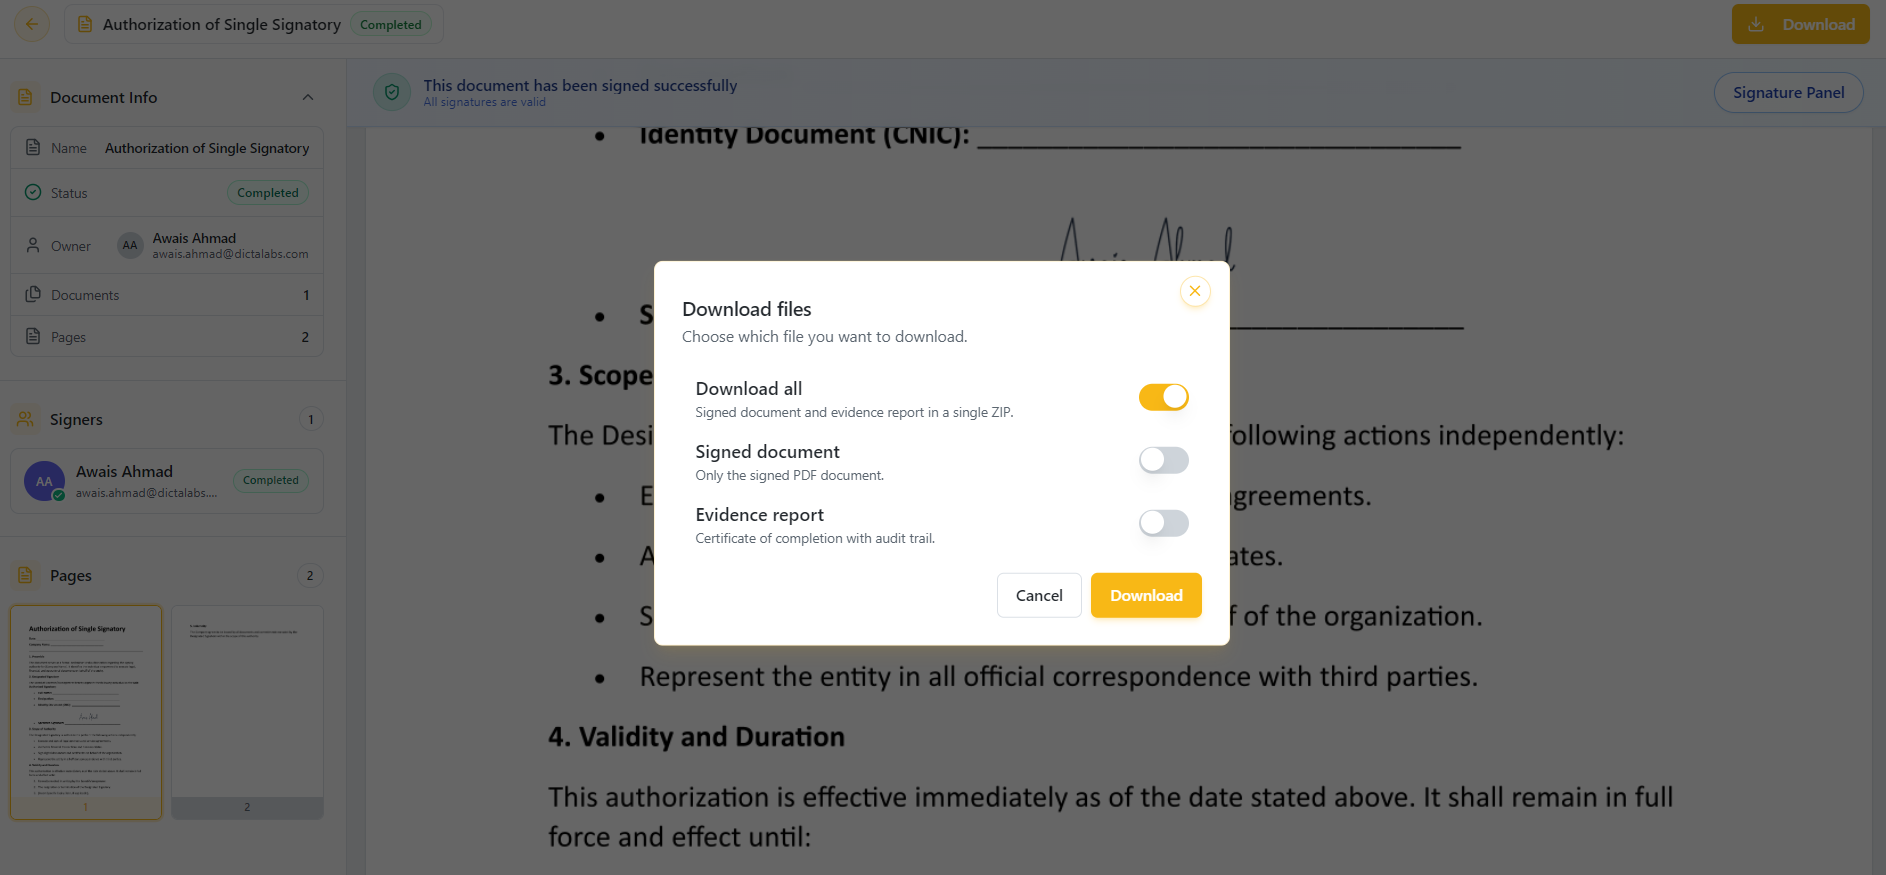
You can download complete document and its certificate of completion (Evidence Report) in the form of a .zip file or either you can choose selective download.